What to Know Before Making Beer at Home
March 30, 2021
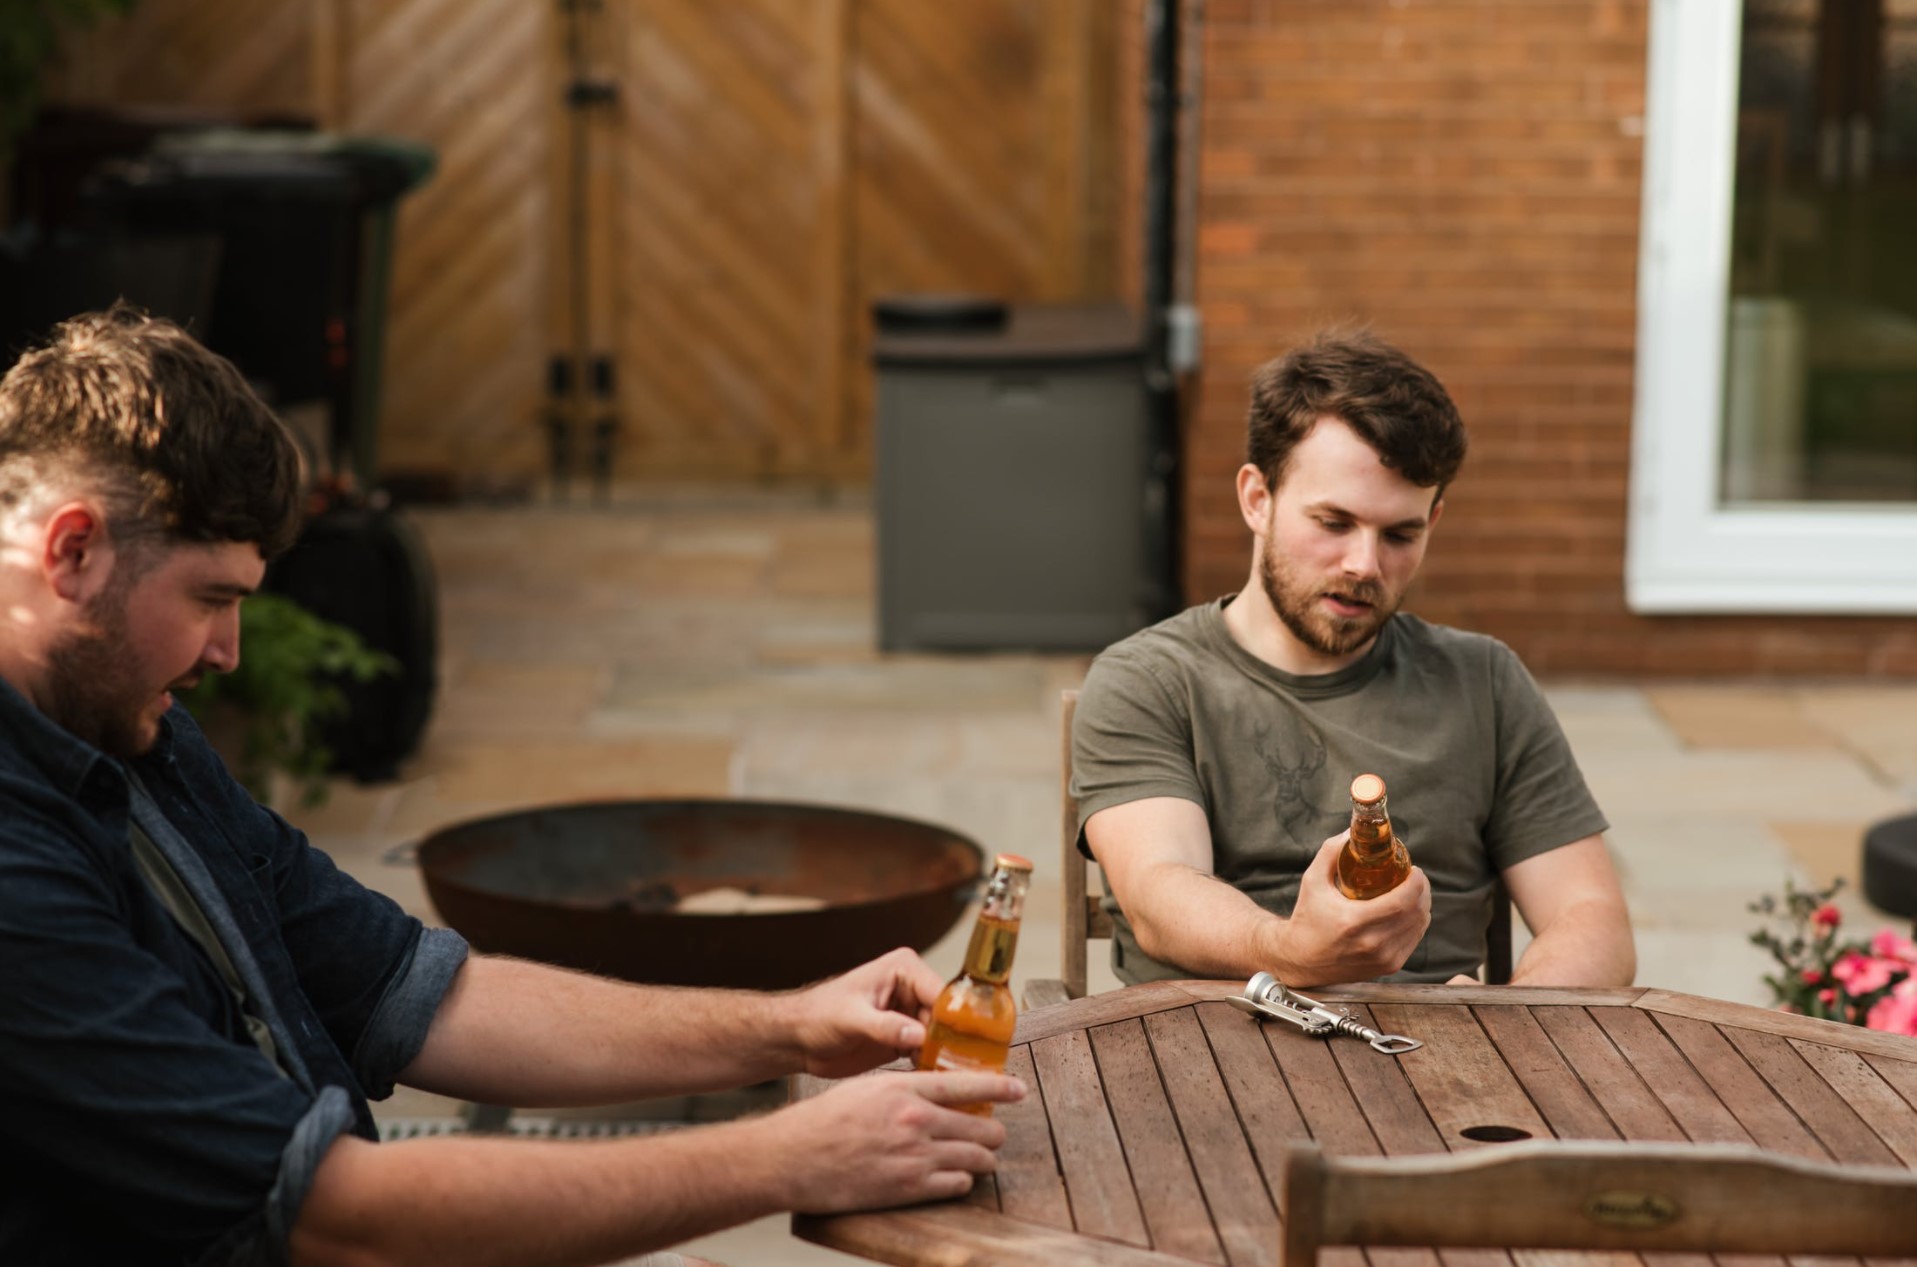
Fermenting brew at home is simple. On the off chance that you can make macintosh and cheddar from a container without assistance, you can make lager.
NOTE: This is an essential outline for fermenting a concentrate brew formula. Snap here to find out pretty much all-grain blending.
Basic Steps to Make Beer at Home Safely
1. Accumulate your blending gear. You’ll require:
- Blending Kettle
- Fermenter + Air Lock
- Pipe (discretionary)
- Sanitizer
- Auto-Siphon
- Mix Spoon
- Lager Recipe Kit (or individual fixings)
On the off chance that assembling the entirety of that seems like a lot work, basically pick one of Northern Brewer’s lager making unit that have all you require to brew, across the board box.
2. Disinfect, Sanitize, Sanitize. Your prosperity will depend on how clean your gear is – mentioned an experienced brewer from Craft City. Anything that interacts with your lager after the bubble cycle ought to be disinfected. PBW and Star San are incredible cleaners and santizers.
Peruse more about getting ready to brew.
Stage 2: Brew
1. Steep Grains. Fill your 5-gallon blend pot with 2.5 gallons of water. As you heat your water, steep your grains for 20 minutes, or until your water arrives at 170 degrees. At the point when you eliminate your grains, let the water trickle out of the grain sack and into the pot. Try not to press your grain pack as you would prefer not to remove tannins, which may give your lager undesirable flavors.
2. Heat pot to the point of boiling – Once your pot goes to a moving bubble eliminate it from warmth and add malt removes. When the concentrate is broken down get back to a bubble. Bounces will presently be added at different stretches. (Note: Be mindful so as not to bubble over when jumps are added.) Refer to your accurate formula with respect to when you need to add bounces to your bubble.
3. You currently have wort – Otherwise known as sugar water. Cool your wort as fast as could really be expected. This should be possible one of two different ways:
Ice Bath – Simply set your pot into a sink loaded up with ice water.
Utilize a wort chiller – Insert chiller into your wort. Run cold water from your tap through the chiller and out to the sink. A wort chiller is the best way, yet either will get you the ideal outcomes.
Stage 3: Ferment
Remember to disinfect every one of your provisions! At that point…
1. Empty cooled wort into the fermenter. Some blend pots even have a valve for simple transportation from your pot to your fermenter.
2. Add water to carry the level to 5 gallons.
3. Circulate air through wort by sprinkling it around in its holder. Yeast need oxygen, and sprinkling your wort will help.
4. Add yeast. Dry yeast is the most effortless, as you don’t need to set it up already. Disinfect the yeast pack + scissors, cut the corner off the yeast pack, and empty the yeast into the fermenter.
5. Seal your fermenter, add an aging isolated space, and store in a dull cool spot. Beers should remain at 68 degrees to age appropriately.
Peruse more about Beer Fermentation.
Stage 4: Bottle
After aging is finished, commonly inside about fourteen days, it’s an ideal opportunity to bottle your brew.
1. Purify everything: bottles, bottle filler, bottle covers, packaging can, and any exchange hoses utilized. Utilize a container brush on your jugs.
2. Heat up your preparing sugar in 16 oz of water. After it cools, add it straightforwardly to the packaging basin.
3. Move your lager. Siphon the brew out of your fermenter and into your packaging can. Leave however much dregs in the fermenter as could be expected.
4. Fill the jugs. Connect bottle filler to hose, and hose to packaging can nozzle. Open the packaging can nozzle and push the jug filler to the lower part of the jug.
NOTE: Fill each jug right to the top. At the point when you eliminate the container filler, it will leave the ideal measure of room at the highest point of the jug.
5. Cap the jugs with covers and a container capper.
6. Store the jugs at room temperature for about fourteen days. This gives your brew time to carbonate.